You’ve started your brand and you’re almost ready to put your first batch of products out into the world. First off, congrats! You’ve already conquered the scary part. Secondly, you might be thinking to yourself “I believe in my product inside and out, but how do I market it the way I envision it?” No need to fret, you’re not alone! So many business owners who are just starting out run into this same issue when it comes to creating their first product label. Maybe you’re design savvy, maybe you’re a beginner, or maybe you just simply want to cut costs where you can. Regardless of your background, we’ve got you covered!
It’s never out of the question to hire a professional, but DIY is always a great route when appropriate. It’s a way for you to put the most personal touch on your products, because you’re literally doing it yourself. For beginners, this can be super intimidating, but we have all the tips on how to design and print your own product labels.
What Programs to Design Product Labels With
There are so many user friendly options for creatives who are just starting out. A great starting place is Canva. Canva is a free template design website that allows anyone, regardless of skill and experience level, to create unique designs that look completely professional. It’s our favorite tool to design products labels with, because of how easy it is to use and how creative it allows its users to get. Canva is a great starting place when you’re first figuring out how to design and print your own product labels.
The only downside to Canva is that the free version is limited. The premium version of the website is incredible. It has a much larger range of design templates and features that include more unique fonts for branding, clipart, and more. The premium version is $119 a year, or $12.99 monthly. Additionally, Canva offers the option to directly print your design through their website. They make the process very user friendly as they take you step by step to ensure your design is formatted to your preference.

A more advanced option for someone who is design savvy would be Photoshop or Illustrator. Both Photoshop and Illustrator are applications that can be downloaded to your computer or tablet; different from Canva which is a website accessible to anyone. If you have the time to teach yourself, these are incredible tools to have in your back pocket as a business owner. The downside to both the programs, is that it does cost a little out of pocket to download, but worth the time and money if you have it accessible. Photoshop can range from anywhere to $9.99 to $20.99 monthly depending on the version you purchase. Illustrator is $20.99 monthly. Since these programs are both applications, they will require their users to source an outside vendor for printing.
Our third option for designing a product label is VistaPrint. VistaPrint is very similar to Canva. It’s very user friendly for beginners, offering templates and free design options. Once completed, you can add your design to your “cart” and VistaPrint will print your label for you, then mail it to your house for a fee. If you’re looking for a convenient option, this might be for you!
The downside to this is the possibility of the labels not turning out the way you pictured, and the additional cost of printing and shipping. Of course, before you checkout, there is an option to go over your work one last time and approve the final product. However, when figuring how to design and print your own product labels, it’s important to keep in mind sometimes what we envision online looks different in real life.
Tips for Designing Product Labels
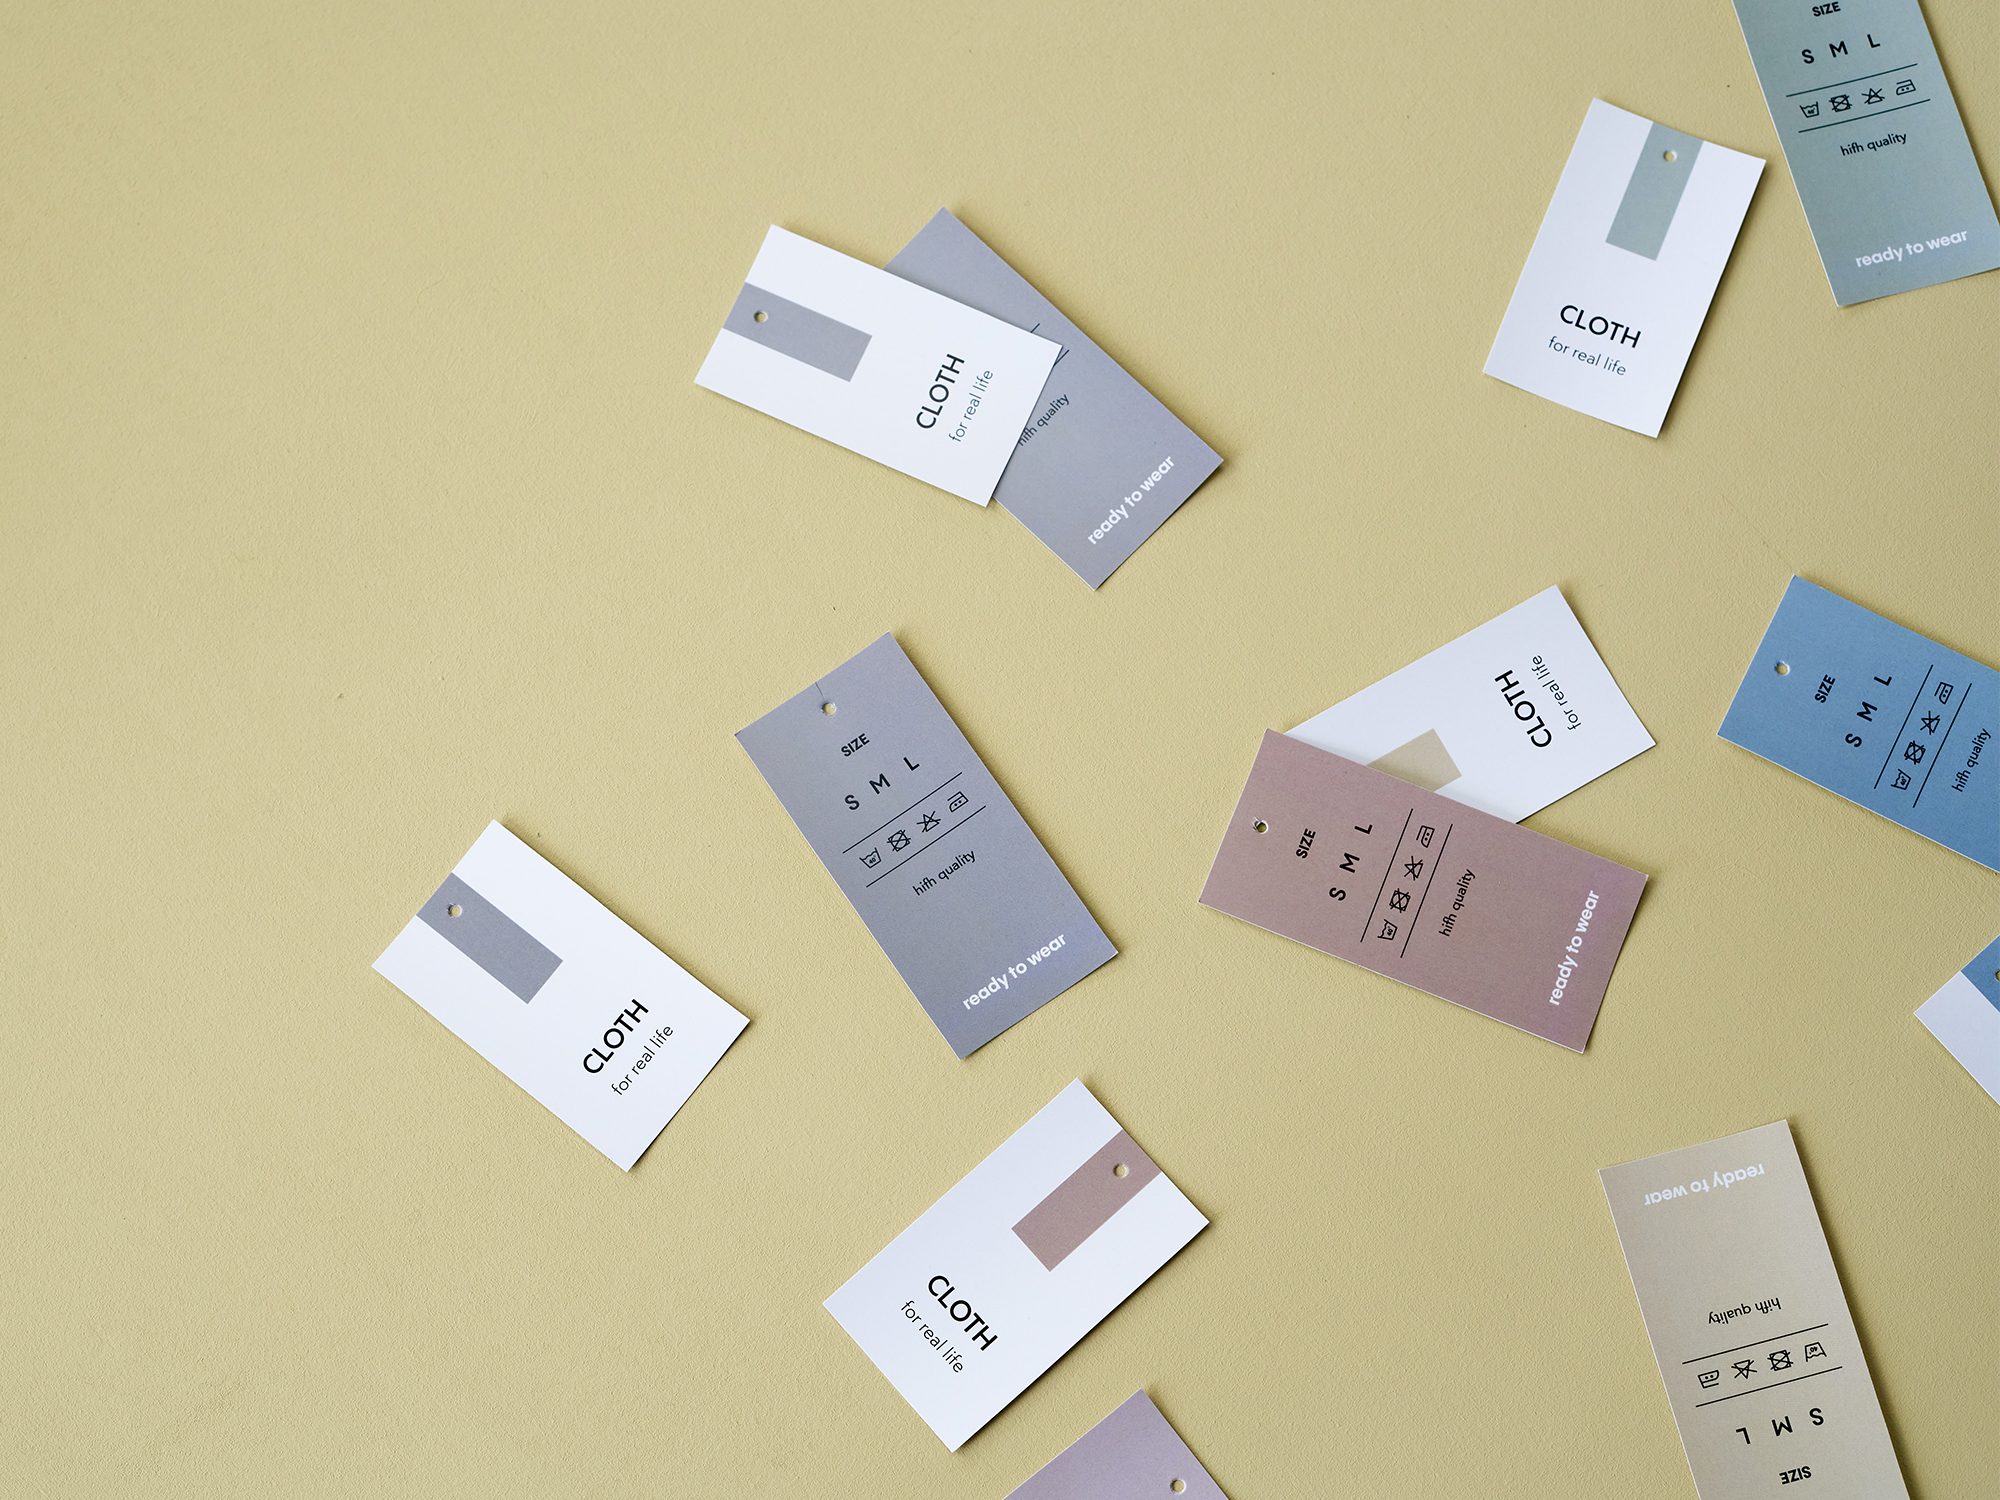
Now that you’ve selected your design program, it’s time to start the fun part; actually creating your product labels! The most important tip we can give to beginners is to keep it simple. Legibility is key! Creators tend to love cursive fonts, but honestly, those can be hard to read which can lead to a poor customer experience. It’s also important to consider the size of the font you choose. You don’t want it to be so small that it’s unreadable. Keep in mind the older crowd. Will they purchase from you? If so, be aware of their eyesight.
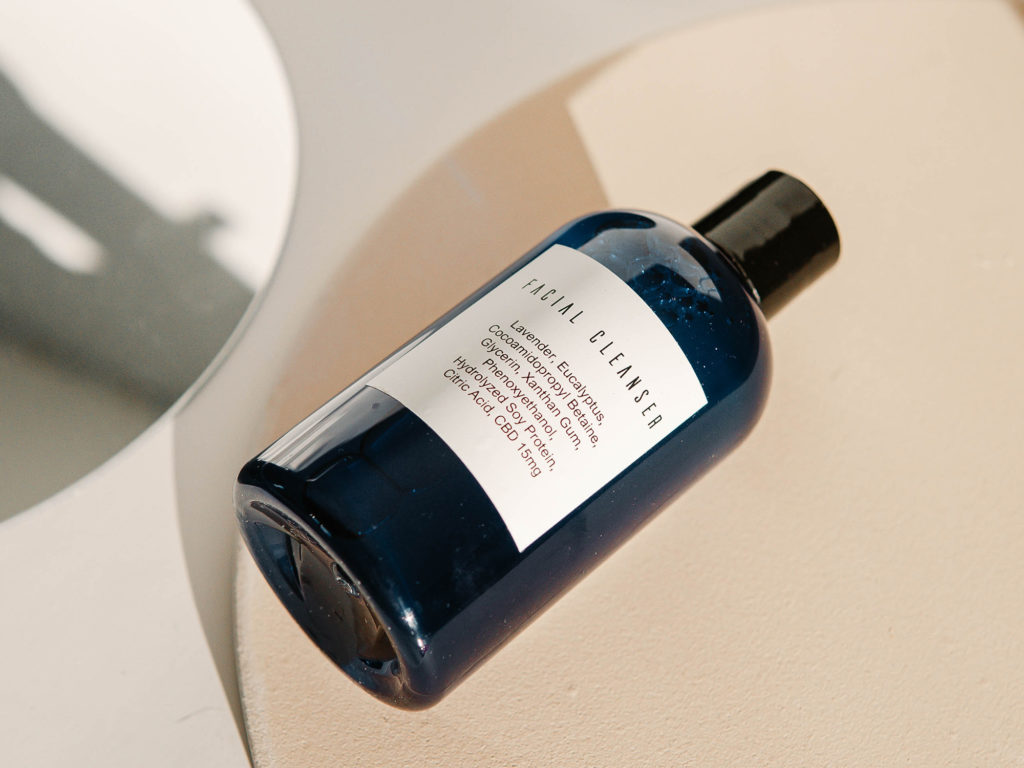
You also might want to include information on your label such as your brand’s logo, the name of your product, and the size and ingredients (when applicable as some information is legally required depending on your state/country). Don’t be afraid to add a personal touch, as well. An example could be “Made in Missouri”. Customers love when they feel like they have a personal tie to a brand or product. Always add those touches when you can; it’s great for local shoppers!
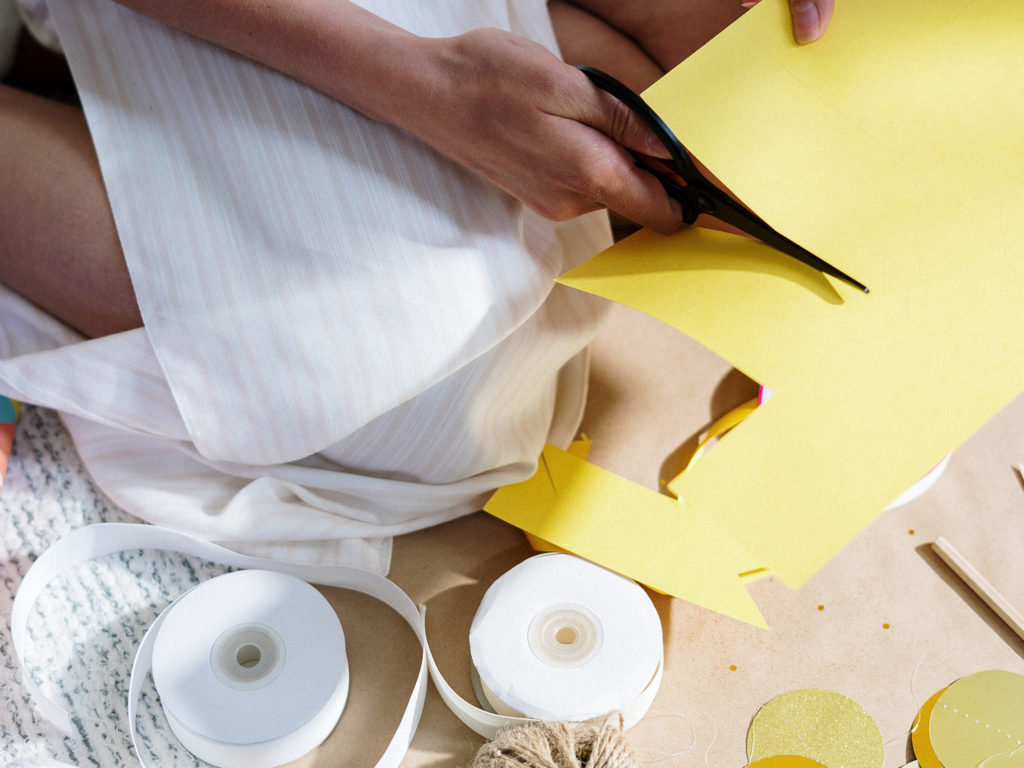
Another key to design work is figuring out the size of the label that will be required for your product. It’s best to measure on your product for this part. Play around with it! One thing we like to do is cut out a mock sized label on paper and use it as a visual against our product. This is so helpful! Try sketching your design on paper before creating it digitally. This will help carve out your vision and save time.
Where to Print Your Product Labels
Once you’ve completed your design process, it’s now time to start printing! This can be intimidating, but it doesn’t have to be. There are so many options for printing. The simplest option is to take your design to a local print shop. Keep in mind, when you take your design to a print shop, the business will likely have a MOQ (minimum order quantity). This just means you have to print a certain number of labels with each design. This could be as many as 200, or as little as 1 label. It differs from shop to shop. You can also use VistaPrint or Uprinting. Both commendable options.
If you’re looking to be more modest with cost, choosing the DIY option is still a great way to go. You will need access to a printer and purchase the blank printing labels. You can pick up labels at your local office supply store (such as Staples), online through Amazon, or OnlineLabels. It’s also important to consider black and colored ink. Remember to add that to your budget when calculating your costs. Make sure when you select “print” that you can see your print preview. How does everything look? Is it set 100% to scale? We recommend printing one label out first to make sure everything looks perfect before printing several labels at a time.
Lastly, if you decide label designing and printing is just not for you (which is okay), remember you always have the option of hiring a professional designer. Hiring a designer can be really easy! You can search for freelance designers through UpWork, or reach out to your favorite designer through Instagram. Pricing definitely varies when it comes to hiring a professional, but you will know going into it how much you will be charged. Consultations are typically free. Make sure to also check out your local graphic design and print shops before searching through the web.
Have any other questions about how do design and print your own product labels? Ask us in the comments below and don’t forget to share this post with your favorite small business friends!


4 Comments
Tamera Krebs
Good info. Lucky me I ran across your website by accident (stumbleupon). I’ve book-marked it for later!
PrintedBanners
Your article is a creative and inspiring read. The way you mention different programs in your product labeling process was very insightful!
Esli
I use Canva for my designs, and to print them in labels I use Ecardify App, from Canva Apps (canva.com/apps). It is very easy to use and it allows you to print directly on adhesive label sheets from Avery etc, plus on plain A4 or Letter paper.
Nicole Holzem
Yes, Canva is great! Avery too. Thanks for sharing your experience with these apps! 🙂